Polymeric Sand Finishes: Tips for Tight, Haze-Free Paver Joints
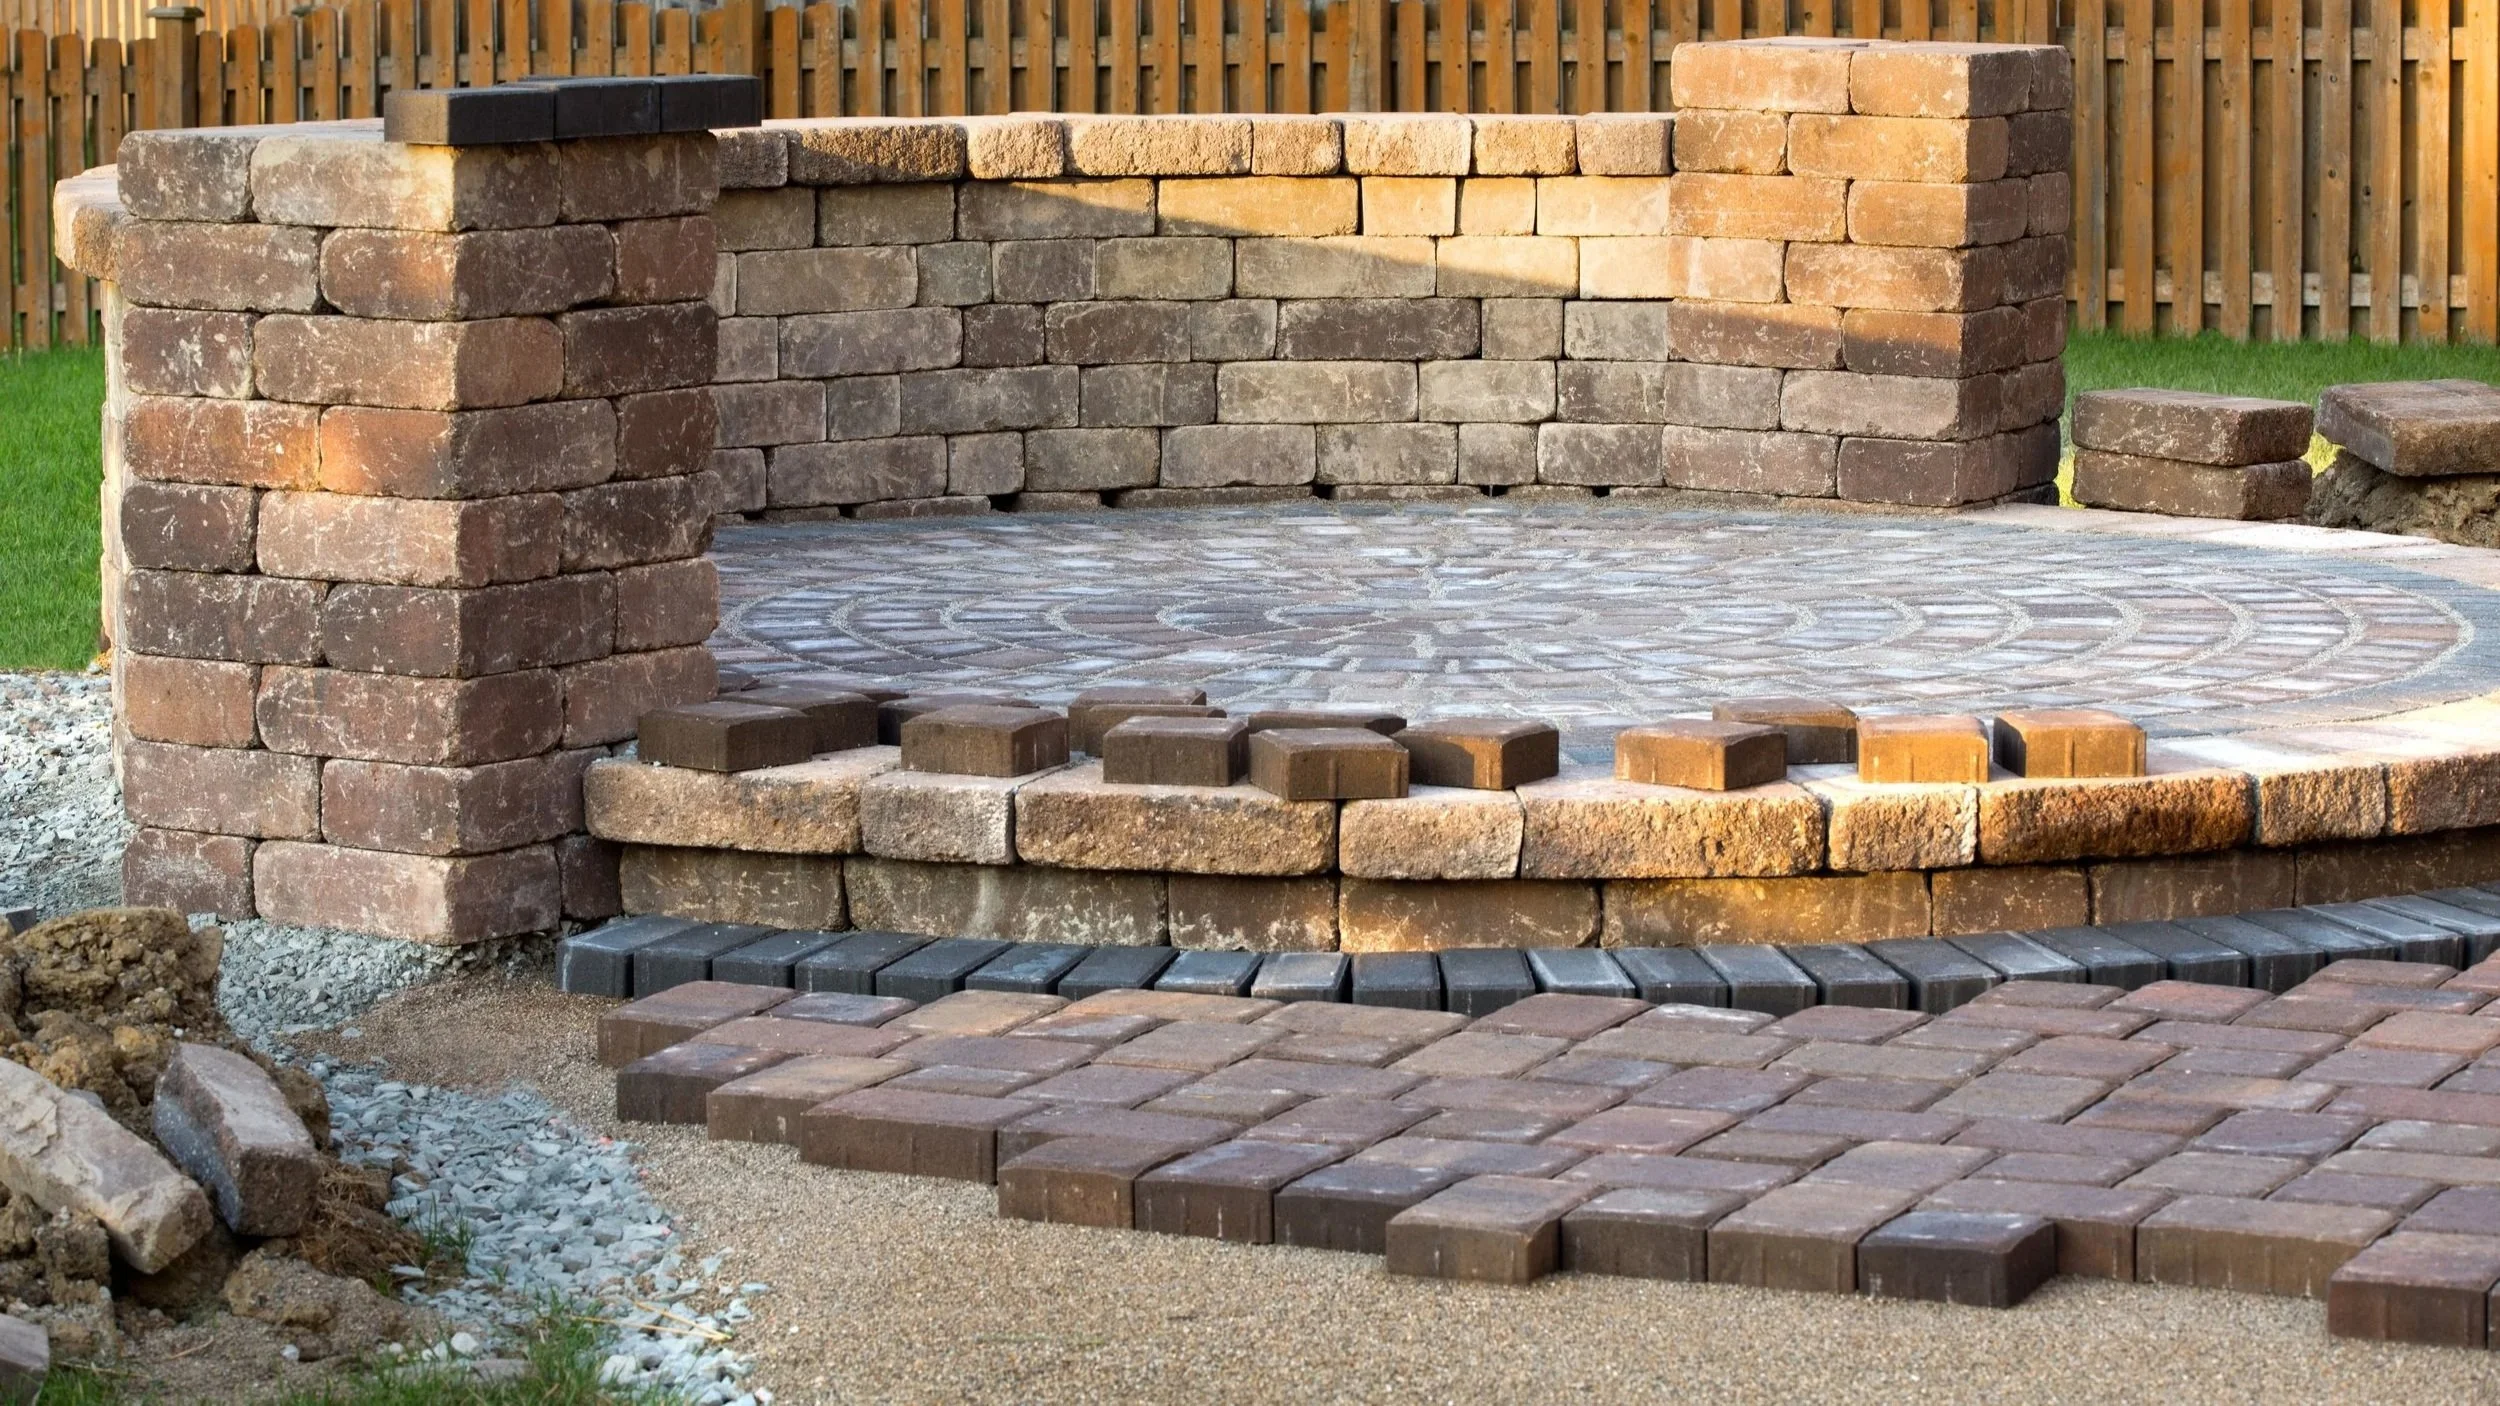
Polymeric sand finishes give a paver patio, walkway, or driveway a clean, locked-in look that lasts for years. Essentially, polymeric sand blends finely graded aggregate with a water-activated binder that locks into the joints between pavers or natural stone. As a result, joints resist weeds, washout, and insect activity while giving the entire surface a clean, finished look. Moreover, the product has improved dramatically since it first reached the market in the late 1990s, with stronger binders, richer color options, and far easier application.
That said, a flawless result still depends on choosing the right product and following a careful process from start to finish. Hazing and crumbling joints aren’t normal outcomes; they almost always trace back to preparation. With mid-October bringing cooler nights to Winnetka, Wilmette, and Glencoe, fall projects also need dry weather and mild temperatures for the sand to cure properly. Ultimately, a few proven best practices separate a joint that lasts one season from one that lasts a decade.
Choosing the Right Product for Polymeric Sand Finishes
Every polymeric sand product carries its own specifications. The first best practice is therefore matching the sand to the demands of the application. Even a perfect installation can fall short when the product isn’t built for the job. A quality sand should suit every part of the project, including:
Sloped walkways and terraced patios
Pool decks that see constant splashing and chemical exposure
Driveways and other high-traffic vehicular areas
Surfaces that face heavy runoff during storms
Joint width matters as much. Some all-in-one products handle joints from 1/8 inch up to 4 inches wide; however, many others cover a much narrower range. So, confirm that a project’s joints fall within the product’s rated range before opening the first bag.
Product knowledge is the next layer of preparation. Manufacturers update formulations and installation steps over time, so even seasoned installers benefit from regularly reviewing labels and training resources. Most manufacturers offer installation guidelines and online videos, and many welcome questions directly from contractors in the field. Ultimately, the strongest polymeric sand installations come from crews who treat the instructions as a requirement, not a suggestion.
Equipping the Crew for Flawless Polymeric Sand Finishes
Know-how matters most, yet the right physical tools turn that knowledge into a clean, consistent finish. Experienced installers consider a short list of tools essential, so a polymeric sand application shouldn’t begin without them:
A quality adjustable shower head with a setting clearly labeled “shower,” which removes any guesswork about water flow
A durable, non-leaking garden hose long enough to reach the farthest corner of the project
A push broom for spreading sand, plus a sorghum broom for detail work along edges and borders
A flat shovel with a wheelbarrow or 5-gallon bucket to collect any excess sand before it hardens in the lawn
A gas-powered leaf blower with an adjustable throttle, ideally a backpack model, for clearing residue from paver surfaces
Each tool plays a specific role. A gentle, even shower activates the binder without flooding the joints, whereas a leaky hose or worn gasket can create puddles that leave behind haze. Likewise, a carefully throttled blower clears fine particles from the paver faces without pulling sand out of the joints. Thus, the finished surface stays crisp and haze-free, and the joints cure evenly from one end of the project to the other.
Preparing the Site Before the Sand Goes Down
Every North Shore property presents its own obstacles, from invisible dog fences and buried utility lines to irrigation systems and existing drainage patterns. Planning around them in advance keeps the installation smooth. Before any sand is swept into the joints, careful installers walk the site and consider a few key questions:
Can the crew blow sand freely, or will an outdoor kitchen, bar, or pool sit in the path?
Will nearby walls trap sand during cleanup?
Is there somewhere to direct standing water after wetting?
Water sources also deserve particular attention. An automatic sprinkler timer, a pool pump discharge, or a downspout feeding the property’s drainage system can soak the joints before the binder sets. Even children playing with the garden hose can undo an afternoon of careful work.
Experience ties all of these steps together. Many of the most successful hardscape crews assign one team member as the dedicated polymeric sand specialist, responsible for mastering the product and its finer points. Industry trainers trace most polymeric sand problems to inexperienced installers and DIY projects. Entrusting the job to a seasoned specialist is one of the simplest ways to protect the finished surface.
Polymeric Sand Finishes That Stand the Test of Time
Polymeric sand finishes that last for years start long before the first bag is opened, as long as you plan up front. Selecting a product rated for the project’s slopes, traffic, and joint widths sets the foundation for lasting performance. From there, a well-equipped crew and a thoroughly prepared site turn that foundation into a clean, haze-free finish. Moreover, an experienced specialist who knows the product inside and out keeps every step on track.
Properly installed joints also hold up far better against the freeze-thaw cycles that challenge every Illinois hardscape each winter. Overall, homeowners in Kenilworth, Highland Park, and Lake Forest enjoy tighter joints, fewer weeds, and less maintenance season after season. With fall winding down and the first frost approaching, now is the ideal time to evaluate patios and walkways before winter sets in. To keep every paver surface looking its best, contact the Chicago North Shore specialists at Pappas Landscape & Design.